Tuesday, March 29, 2011

Just Too Cute

This is yet another page I have designed for a class for my April timetable for my shop at The Entrance. I don't usually post up & coming pages to the web but I thought,  hey what the heck. I have  used W.O.W. chipboard word & flourishes, which I have cut up into 3 pieces. This way it works out very economical. I have painted all the chipboard in a cream paint. When dry I have given all of them a coat of "Irredescent Medium" just to create "shimmer". Lastly I have applied "Stickles" for some glitz & glam. The background card I have used another "Martha Stewart around the page punch set. I am totally addicted to these punches. They are just soooo nice. Before I stuck the background card down I have sprayed it with "Irredescent Gold Glimmermist". This way it doesn't really change colour that much, it just shimmers. Next I have used "Green Tara" Gardenia flowers,  leaves & Rose. I have again used the "Irredescent Medium" on the flowers but not the leaves. This way I have made the flowers really stand out. This fab little trim across the bottom of the page is also from "Green Tara". Lastly I have added a Tim Holtz Name Plate.

All of the products I use in my pages are available at my shop.


Also don't forget that all of my pages are available to purchase as a kit which includes all products & instructions. Pin It Now!

Wednesday, March 23, 2011

NEWS

I just thought I would share my news with you all. I have just joined the "Green Tara" Design Team. They are a company who imports & wholesales fabulous flowers, petals, ribbons, trims and lots of other goodies. We stock lots of their products in my shop at The Entrance. Stay tuned for a couple of pages where I have used their yummy products.


"PICTURE PERFECT"
On this page I have punched around the edge with a new Martha Stewart "Around the Page" Punch set. Next I have sprayed Glimmermist in a random fashion. The patterned paper I have wet (under the tap) yes, you heard right. While it is wet I have scrunched it fairly heavily, then set aside to dry.I have used a metallic paint on the little W.O.W. chipboard hearts & words. Then for the flowers, this was the fun part. All of these flowers are Green Tara. I have changed them a little by various means. The right hand Aqua flower is just a large size petal that I sliced into the middle, applied glue & just rolled it up to give it lots of volume. The left side Aqua flower is actually four medium size flat petals, glued in half & then glued together, again this creates volume.  The large flower in the middle of the cluster is one I just rolled up out of left over paper.I have also used Green Tara roses in various sizes & a cute little Green Tara Flower Spray. To give them a bit of wow factor I have given all the flowers a coat of "Irredescent Medium", this a a yummy shimmer. Lastly I have applied "Diamond Dust" to all the flower edges. (We sell this at my shop) I think these flowers turned out really well & there is not a "Prima" in sight. These Green Tara flowers are very well priced. By using these two products on your flowers, you achieve a real sparkle & they look expensive when in actual fact they are not. I have also tied a lovely mesh bow from Green Tara to include in my cluster. I hope this pages gives you all a few ideas for altering flowers. Happy Scrapping.   Di xx


Pin It Now!

Thursday, March 17, 2011

KITS

All the pages you see on my blog are available for purchase at my shop, "Di's Scrapbooks" at The Entrance. All of my pages are sold as a kit with all products, instructions etc,  pay over the phone & I mail it out to you. It is that easy. More pages on display in my gallery on my website. Pin It Now!

A Moment in Time (Girl Version)


This was a page I did for a class at my shop. This is the girl version & the boy version is posted underneath this. We always do this at my shop so that people have the choice of either one. On this page I stamped & heat embossed random music notes in white on the background. I have also wiped white paint around the edges. I have Glimmermisted the white background as well as some muslin with some shade of pink (I can't remember what colour). I have used a "Therese Collins" paper & these fabulous "Dusty Attic" nested skeleton clock faces. I have used W.O.W. words that they very kindly custom made for me, also the clockhands. I have used a Tim Holtz die to cut the keyhole which I applied an Impesto medium to give it a nice texture. Hope this page gives you a little inspiration & perhaps a few ideas.   Di xx Pin It Now!

A Moment in Time (Boy Version)

This week I thought I would share this (boy) version of a page I did for a class at my shop recently. I have used "Dusty Attic" nested clock faces, these are a fab chipboard piece. You get about 5 or 6 in a pack. I have gone crazy with the Glimmermist on the background. I like the grungy look I have managed to create with  "Coffee Shop" & "Graphite" using this  two colour combination. As usual I have done loads of stamping using various stamps. I really do love to stamp on my pages. I think you can  make your pages so unique this way. The paper is a Bo Bunny from the Cambridge range. The words & the clock hands, Suzanne at "Words or Whatever" (W.O.W.)  made up for me. The keyhole & cog were both cut with a Tim Holtz Die which I then used an Impesto Medium on to create some nice texture with before painting them. I have done a faux metal paint effect on the skeleton clock faces. 


I hope this page gives you a few ideas. Until next week. Happy scrapping.    Hugs Di xx Pin It Now!

Monday, March 7, 2011

NEW CARDS FOR MY MARCH CARD CLASSES

I just thought I would show you  my NEW cards I have designed for my March Card Classes at my shop. I have used a great set of music theme stamps from "Darkroom Door". I love the images & all the words. This is really a great set of stamps. I have also used my favourite little "W.O.W." chipboard Card Greetings. Lastly I have used a couple of the NEW Martha Stewart "Around the Page" Border Punch Sets. These are great as you can punch around your card or scrapbook page in various sizes & the corners line up perfectly with the sides. All in all I am happy how they turned out. I hope you like them. All of the products I use in all my various projects are all available at me shop, "Di's Scrapbook Shop" at The Entrance N.S.W. Pin It Now!

Saturday, March 5, 2011

Friends (Boy Version)


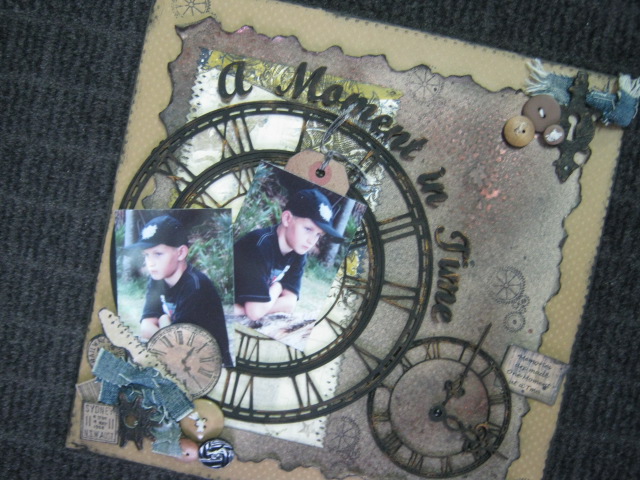
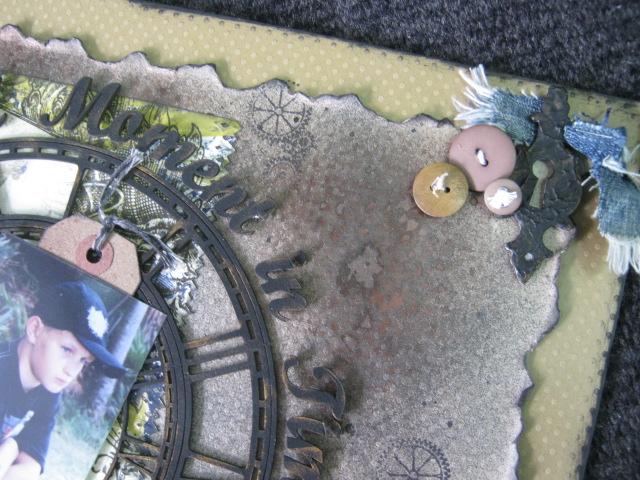
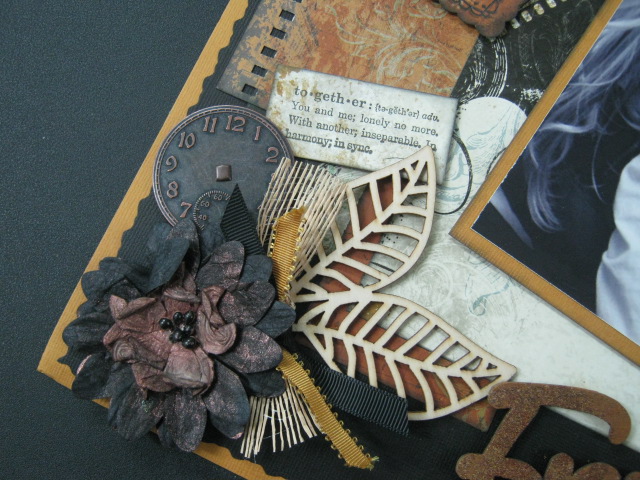
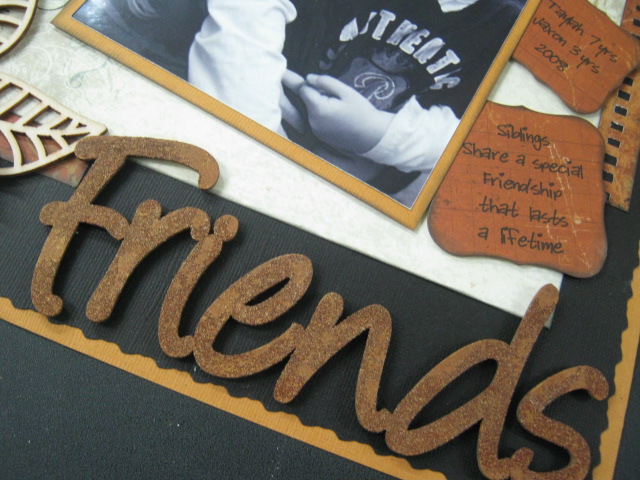
This is another page  I designed for a class at my shop. I posted the girl version of this page here on my blog last week. (The green page beneath this one). As you can see I have used pretty much all the same elements, just used a great Bo Bunny Mama Razzi Paper, just love Bo Bunny papers, they are my all time favourites. Also on this "Friends" chipboard word I have used a Tim Holtz Distressed Embossing Powder which I have heat set. If you have never used this Distressed Embossing Powder you  should give it a try. After you have finished heating it, you rub it with your finger & bits come off & it gives you the most amazing rough  textured look. Great for boy pages & also for Vintage. I have stamped the "US" word using an "Autumn Leaves" stamp. The little definition I stamped with a great Stampin Up set of Stamps. Great set, it has about forty different definitions in it. Anyway I hope you like this page & maybe get an idea or two from it. Will talk again next week. Pin It Now!